
Okay, so I decided to give this vegan gluten-free oat bread thing a try the other day. Been seeing recipes floating around, and honestly, finding good bread that ticks both those boxes is a bit of a hassle sometimes, right? Figured I’d roll up my sleeves and see what happened in my own kitchen.

Getting Started
First thing, gotta get the ingredients lined up. The main star, obviously, is oats. Important bit here: make sure they’re certified gluten-free oats. Regular oats can get contaminated with wheat in the fields or processing, so if you need truly gluten-free, you gotta check the package. I had a bag of GF rolled oats already, thankfully.
Then the other bits and pieces:
- Some kind of plant-based milk (I used almond milk ’cause that’s what was open in the fridge).
- Maple syrup for a tiny bit of sweetness, not much though.
- Apple cider vinegar – sounds weird, but it helps with the rise, apparently.
- Baking powder and baking soda for lift.
- Salt, of course.
- And this stuff called psyllium husk. It’s kind of a binder, helps hold things together since there’s no gluten. Looks a bit strange, like sawdust, but it does the job. I used the whole husks I had.
- Sometimes I add seeds, like sunflower or pumpkin seeds, but I kept it simple this first time.
Mixing It Up
Alright, so I grabbed my big mixing bowl. Dumped in the oats, the psyllium husk, baking powder, baking soda, and salt. Gave that a good stir with a whisk just to get the dry stuff evenly mixed.
In a separate jug, I mixed the almond milk, maple syrup, and apple cider vinegar. Then I poured the wet stuff into the dry stuff.
Now, the mixing part. Just used a sturdy spoon. You mix it until it’s all combined. It gets thick pretty fast because of the oats and that psyllium husk soaking up liquid. It’s not like regular bread dough you knead; it’s more like a very, very thick porridge or batter. Felt kinda sticky and dense. Let it sit for like 5-10 minutes, the recipe I glanced at said this helps the husk gel up.

Baking Time
While it was sitting, I got my loaf pan ready. Greased it up and put a strip of parchment paper inside, leaving some hanging over the sides like little handles. Makes it easier to lift the bread out later.
Scooped the oat mixture into the pan. It’s thick, so I had to kind of spread it out evenly with the back of the spoon. Tried to smooth the top a little.
Then, into the oven it went. I had preheated it to around 350°F (that’s about 175°C). Now the waiting game began. Set the timer for maybe 50 minutes initially? Baking time can be tricky.
The kitchen started smelling pretty good, that warm, slightly sweet oat smell. Always a good sign.
The Result
Checked it after 50 minutes. Tapped the top, sounded a bit hollow. A skewer inserted into the center came out clean. Looked nicely browned. Pulled it out using those parchment paper handles – worked like a charm!
Let it cool in the pan for about 10 minutes, then moved it to a wire rack to cool completely. Seriously important step: letting it cool completely. Gluten-free stuff, especially bread, needs time to set properly, otherwise, it can be gummy inside.
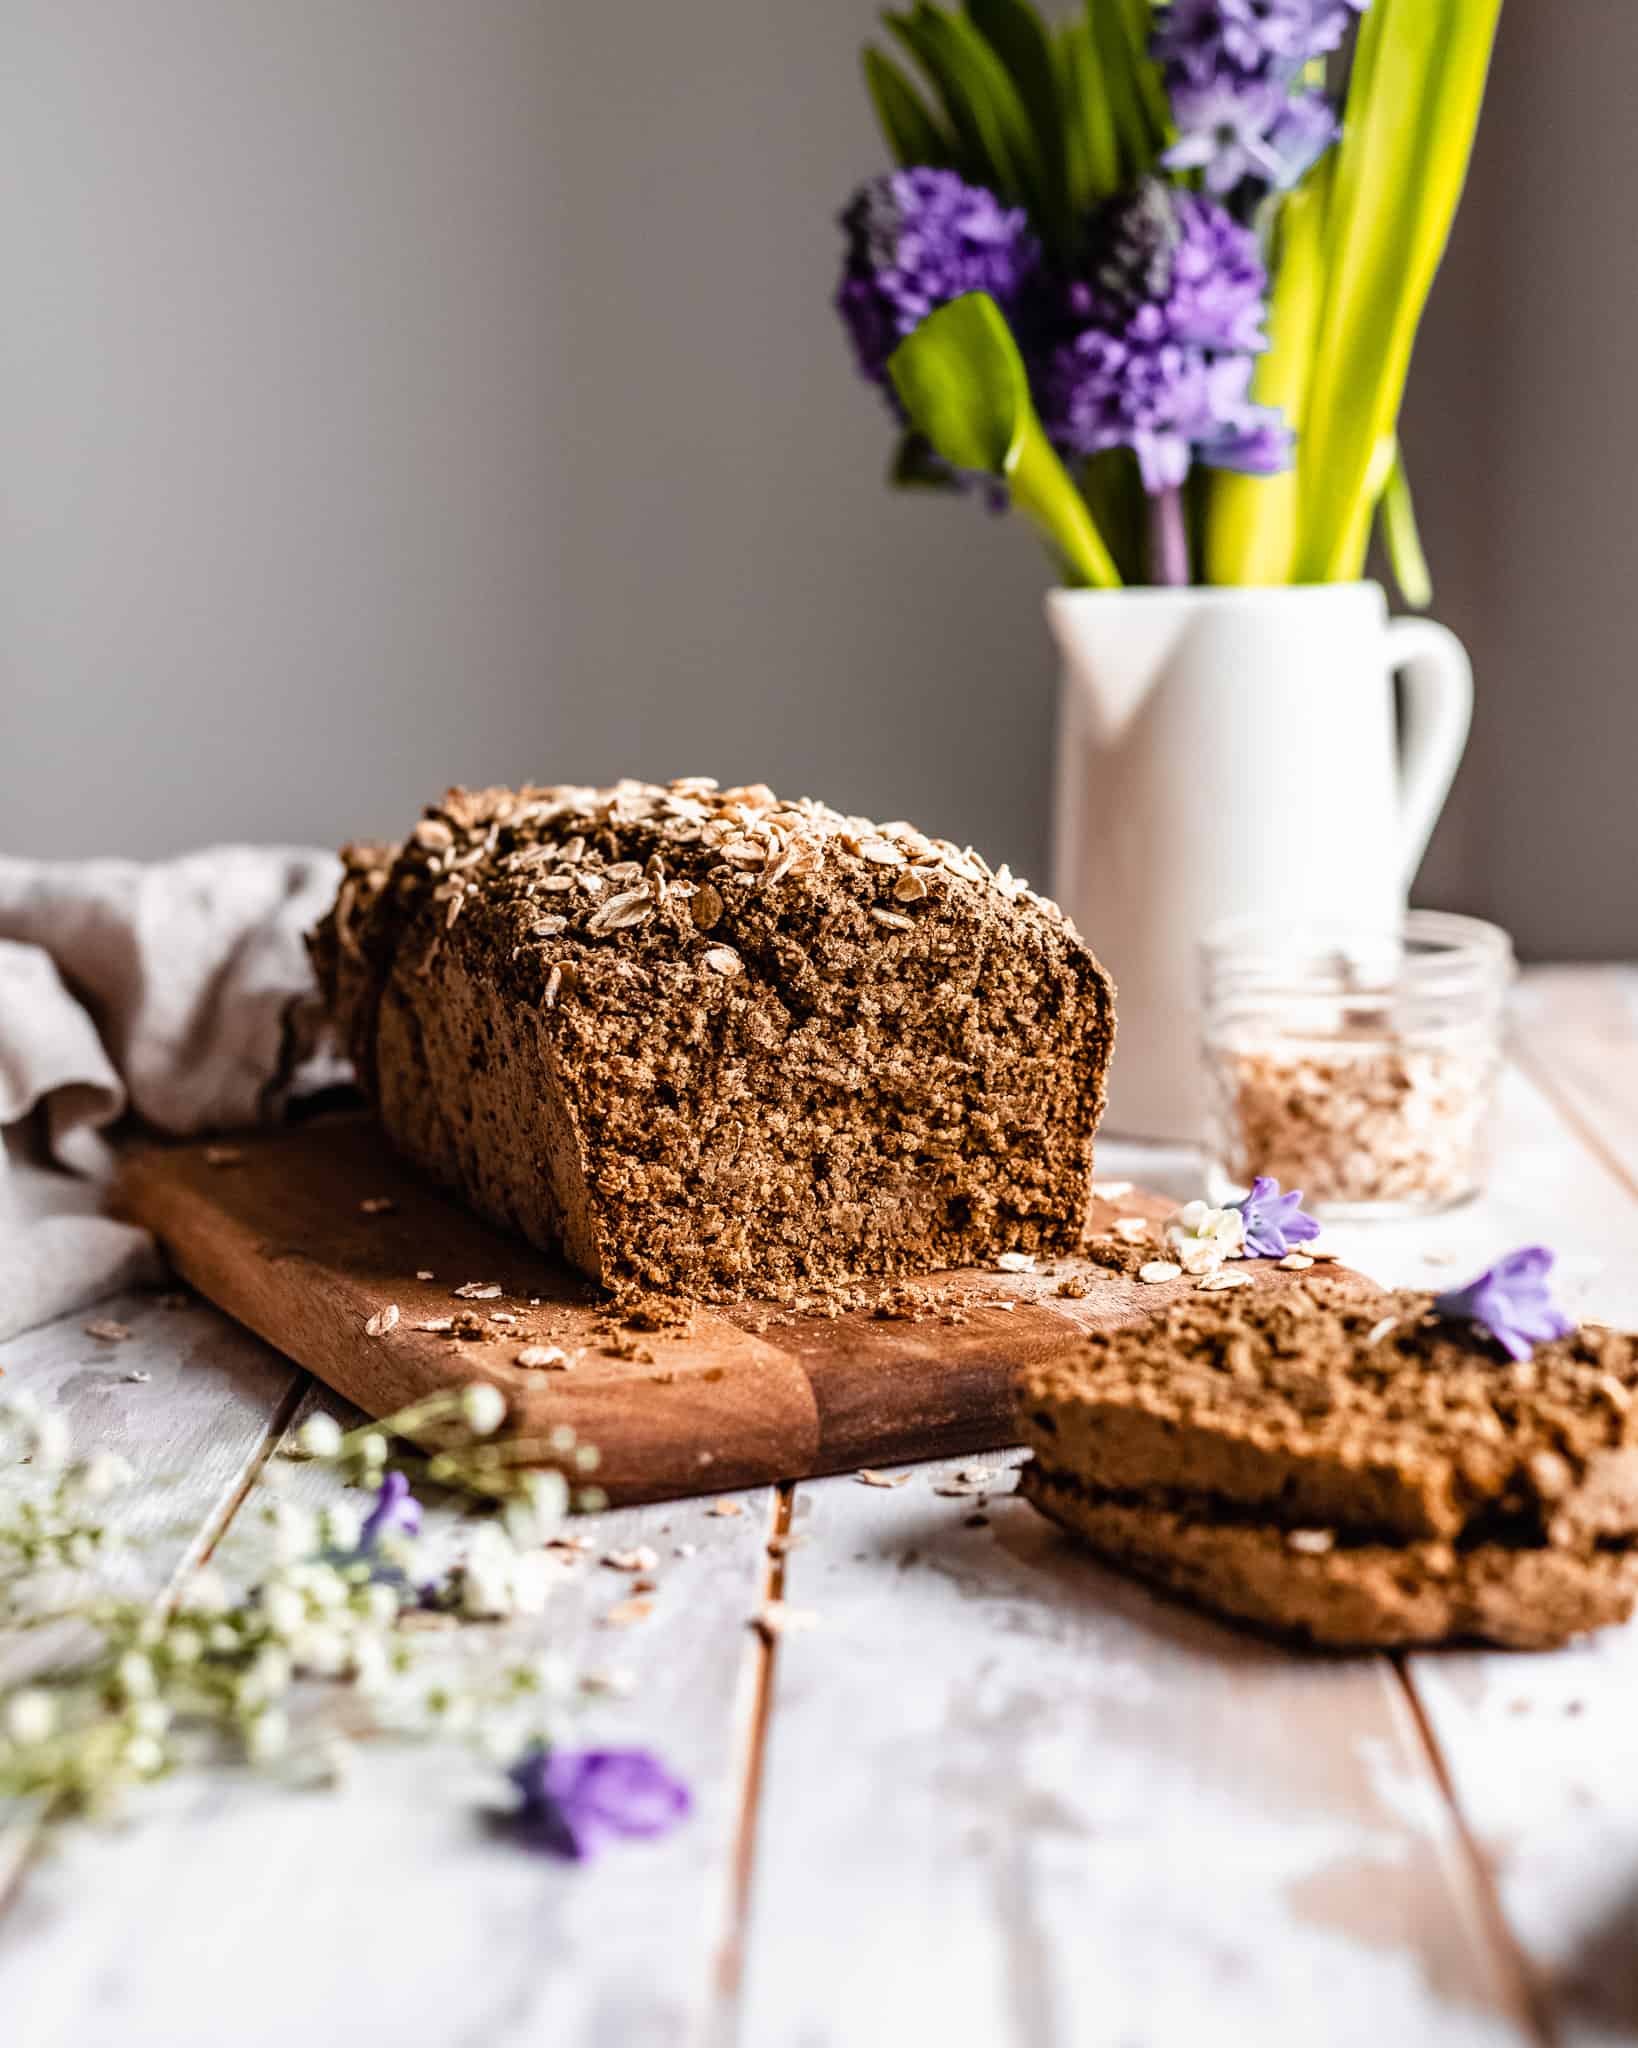
Once it was cool, I sliced into it. The texture? It’s definitely denser than regular wheat bread, more moist too. It held together well though, didn’t crumble into a million pieces which is always a win with gluten-free baking. The taste was nice and oaty, slightly savory but with that hint of maple. Pretty good, actually!
Overall, I’d call this experiment a success. It wasn’t complicated, mostly mixing and waiting. And the result is a decent loaf of bread I can actually eat. Will probably make it again, maybe toss in those seeds next time.