Alright folks, so today I’m gonna walk you through my latest kitchen adventure: making dim sum buns! It was a bit of a journey, let me tell ya, but totally worth it in the end.

First things first, I started by gathering all the ingredients. I’m talking flour, yeast, sugar, baking powder, milk, vegetable oil… the whole shebang. Found a recipe online, seemed easy enough, you know how it goes.
Then came the fun part: mixing the dough. I threw everything into my stand mixer – yeast, warm milk, sugar. Let it sit for a bit to get all bubbly and happy. Added the flour, baking powder, and some oil. Let that mixer do its thing until a nice, smooth dough formed. It was kinda sticky at first, but I added a bit more flour until it felt right.
Next up was letting the dough rise. Put it in a greased bowl, covered it with a damp cloth, and stuck it in a warm spot for about an hour. It puffed up like crazy! Seriously, almost doubled in size. Felt pretty proud at that point.
While the dough was rising, I tackled the filling. I went with a classic char siu (BBQ pork) filling. Diced up some leftover BBQ pork I had in the fridge, mixed it with some hoisin sauce, soy sauce, a touch of sesame oil, and a bit of cornstarch to thicken it up. Smelled amazing, I gotta say. Gave it a little taste test, and yup, it was on point.
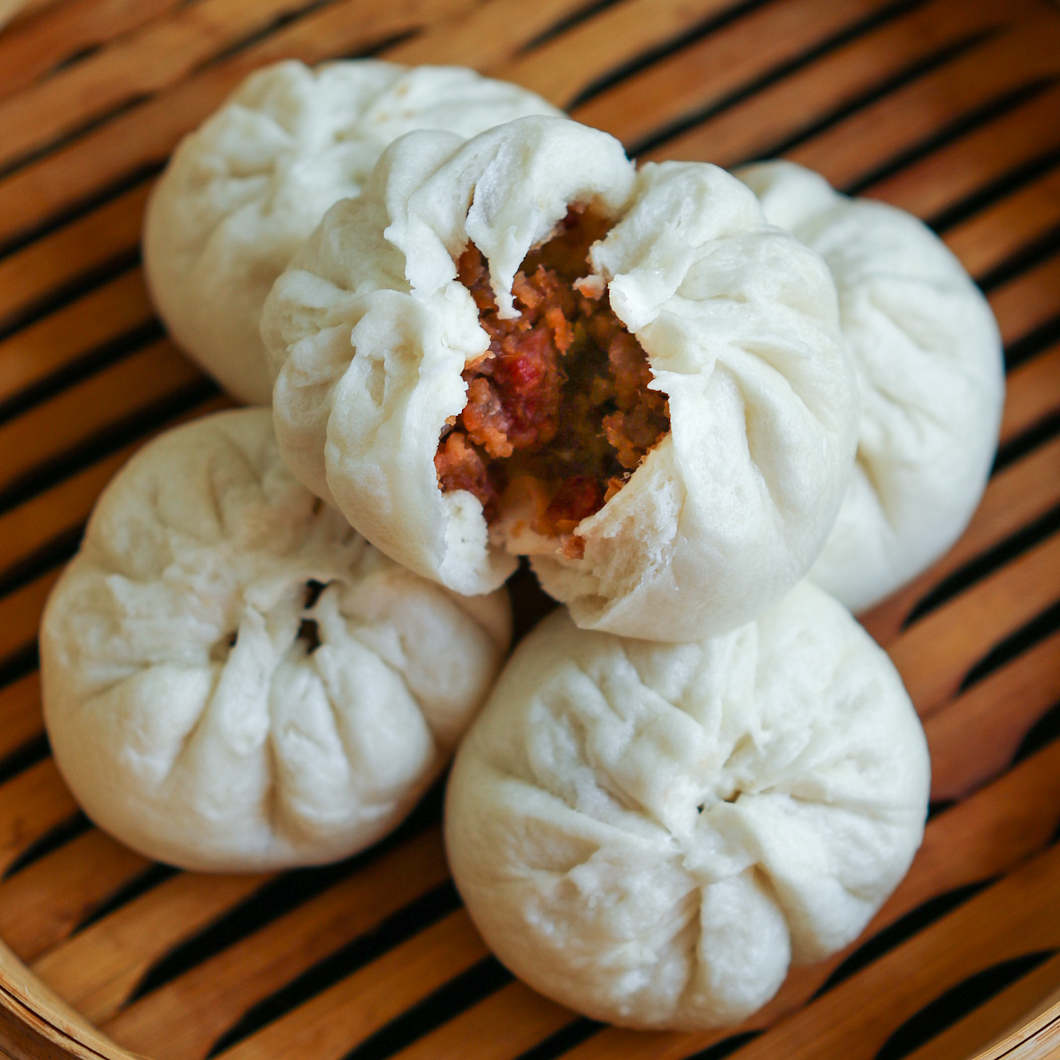
Okay, dough’s risen, filling’s ready. Time to assemble! I punched down the dough, rolled it out into a big circle, and then cut it into smaller circles. Each circle got a spoonful of that delicious char siu filling. Then I pinched the edges together to form a little bun. Kinda like making dumplings, but bigger and rounder.

After that, I put the buns on some parchment paper, placed them in a bamboo steamer, and let them proof for another 20 minutes or so. Gave them a little extra time to get nice and fluffy.
Finally, the moment of truth: steaming! I filled my wok with water, brought it to a boil, and then placed the steamer on top. Steamed those bad boys for about 15 minutes. The aroma was incredible! I was practically drooling at this point.
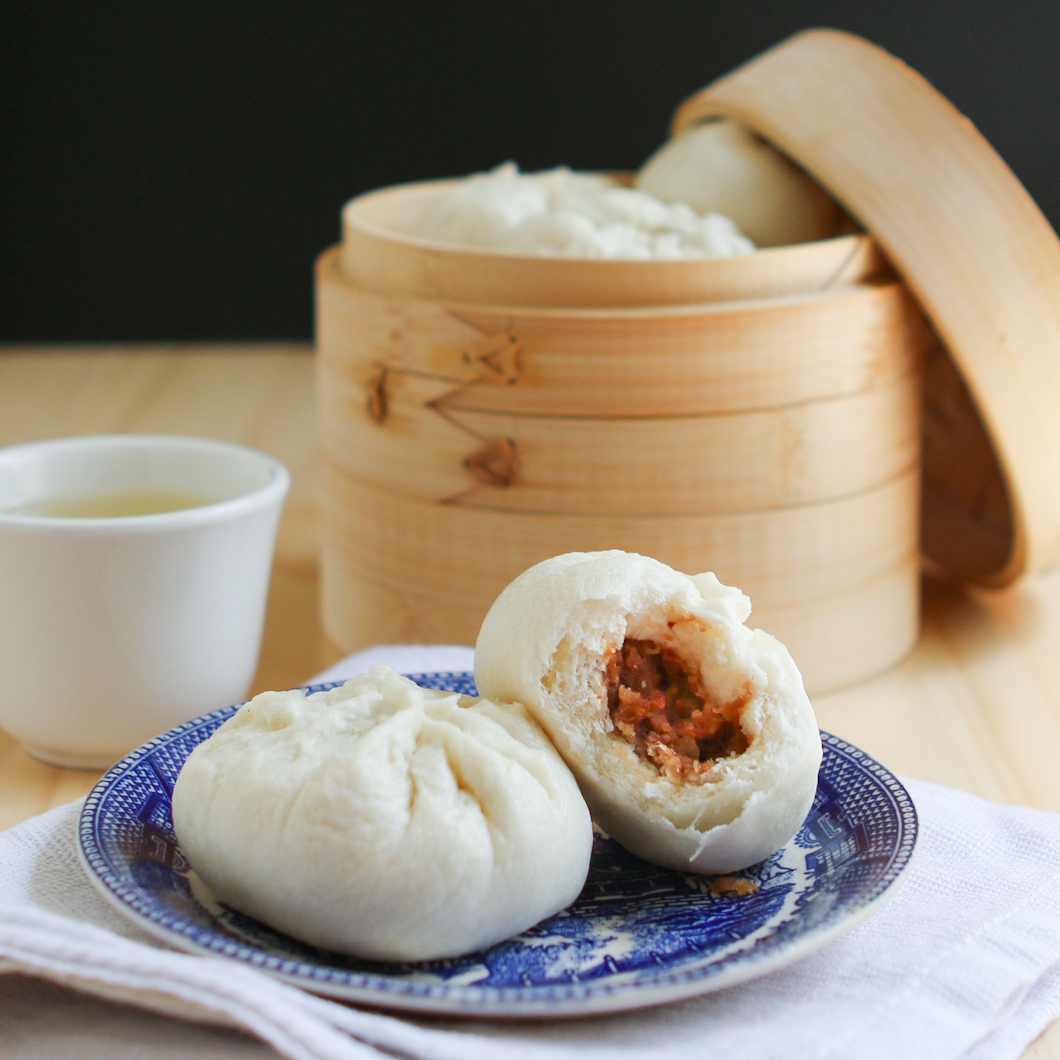
And there you have it: dim sum buns! They weren’t perfect, mind you. Some were a little wonkier than others, and a few had a slight crack in the top. But hey, that’s the charm of homemade, right?
Took them out of the steamer, let them cool slightly, and then… devoured them. Seriously, they were so good! The dough was soft and fluffy, the filling was sweet and savory, and the whole thing was just…chef’s kiss! Definitely making these again.
Lessons learned:

- Don’t be afraid to add a little extra flour if the dough is too sticky.
- Make sure the filling isn’t too wet, or it’ll make the buns soggy.
- Don’t over-steam them, or they’ll get a little rubbery.
Overall, a fun and tasty experience. If you’re looking for a weekend project, I highly recommend giving dim sum buns a try. Just don’t expect perfection on your first go. It’s all about the process, and the delicious results!
