
Okay, so I wanted to share my little adventure with Adobe Photoshop Express today. It wasn’t anything planned, really. I had this picture on my phone, took it when I was out grabbing coffee, sunlight was a bit weird. Didn’t want to get onto my main computer and load up the big, serious Photoshop just for that. Seemed like overkill, you know?

I remembered seeing this Photoshop Express thing around, supposed to be simpler. So, I grabbed my phone, went to the app store, and searched for it. Found it pretty quick, the download didn’t take long either. Installed it right then and there.
Opened the app. First impression? Clean. Not scary like some photo editors with a million buttons. It asked me to pick a photo, so I navigated to that coffee shop picture. Easy enough.
First thing I noticed was the lighting, like I said, a bit off. Looked for some basic adjustments. Found ’em under an ‘Adjustments’ icon. Things like ‘Light’, ‘Color’, ‘Effects’. I tapped on ‘Light’. Saw sliders for Exposure, Contrast, Highlights, Shadows. Didn’t really know exactly what each one did technically, but I just started sliding them. Moved the Exposure slider a bit, then pulled the Shadows slider up. Watched the picture change right there. Got it looking much better, more balanced, in just a few seconds. It felt pretty intuitive, just moving things left and right until it looked good to my eye.
Next, I thought maybe I’d crop it slightly, get rid of a distracting sign in the background. Found the ‘Crop’ tool. It put a box around the picture, and I just dragged the corners and sides in until the sign was gone. Hit the checkmark, done. Again, super straightforward.
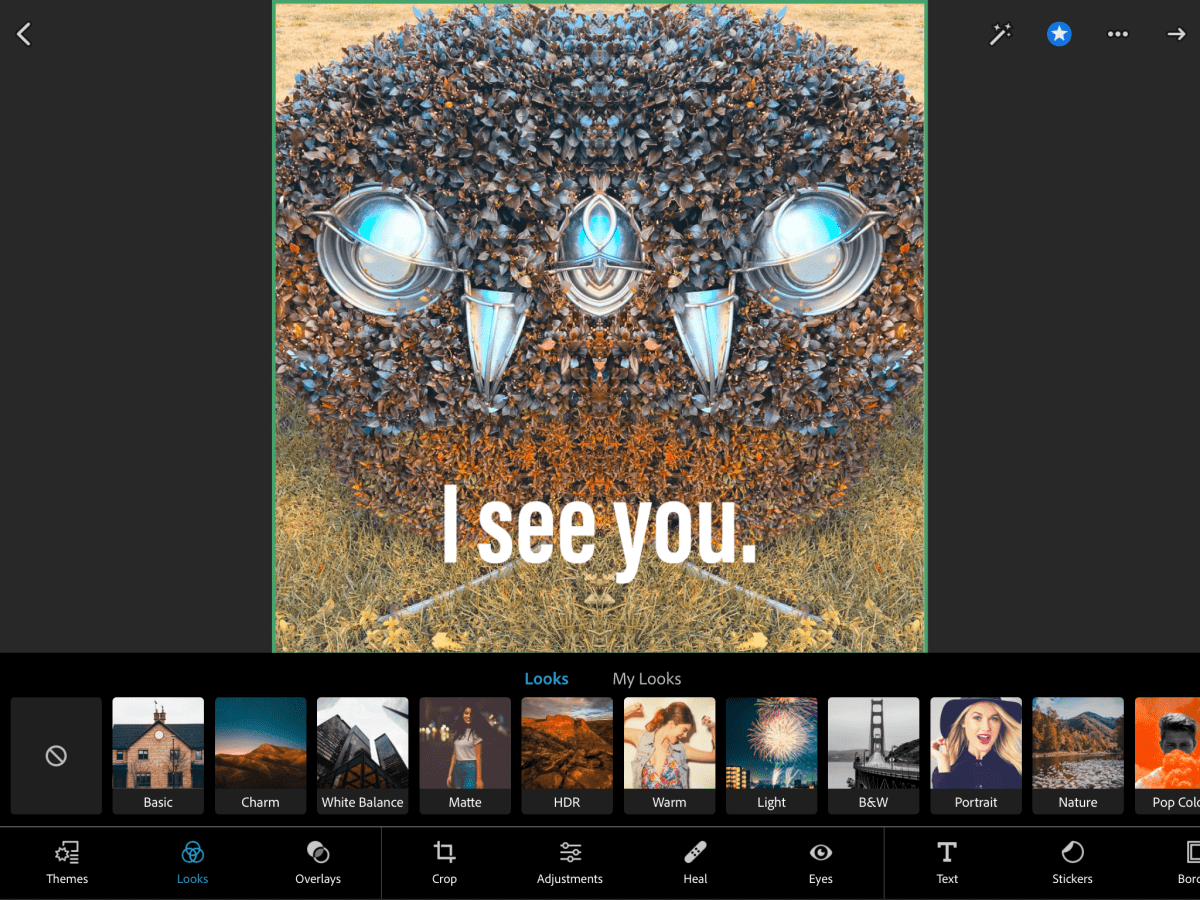
I saw they had a bunch of ‘Looks’ – those are basically filters, right? Swiped through a few. Some were too strong, made the picture look kinda fakey. But I found one called something like ‘Vibrant’ or ‘Punch’, can’t remember the exact name. It just gave the colors a little boost without being overwhelming. Tapped on that one.
Quick Fixes and Saving
There were other tools too. Saw stuff like ‘Heal’ for removing spots, and ‘Red Eye’. Didn’t need those for this picture, thankfully. My eyes were fine, and there weren’t any weird spots. But it’s good they’re included for times you might need a quick fix like that.
So, picture looked better, cropped right, had a subtle filter. Time to save. Just looked for a ‘Save’ or ‘Export’ button. Found it at the top. Tapped it, and it asked where to save. Just saved it back to my phone’s gallery. The whole process, from opening the app to saving the fixed picture, probably took less than five minutes. Seriously quick.
My final thoughts? Yeah, it lives up to the “easy and quick” name. It’s definitely not the full Photoshop powerhouse. You’re not going to do complex layering or super detailed graphic design stuff here. But that’s not the point of it, I guess.
For what it is – a tool for quick fixes on your phone or tablet, adjusting brightness, cropping, maybe adding a simple filter – it works really well. You don’t need to be a photo pro to use it. You just open your pic, tap a few buttons, slide a few sliders, and boom, it looks better. I’ll definitely keep it around for those moments when I need a fast edit without the fuss.