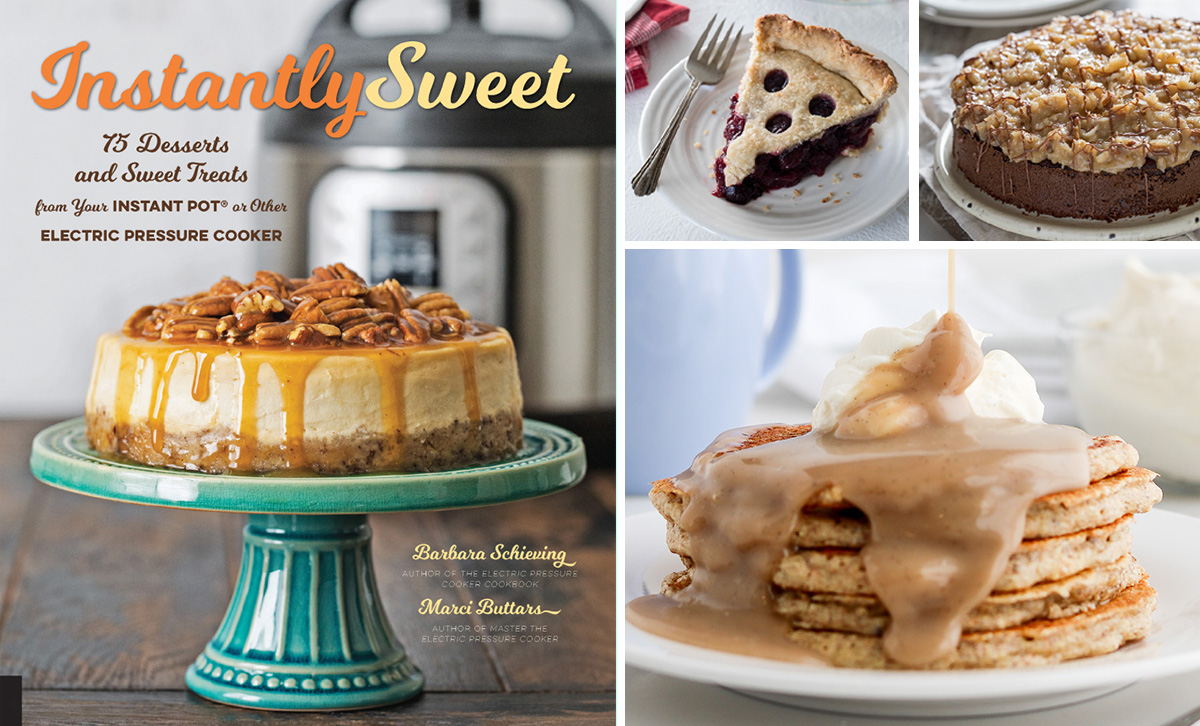
Alright, so I finally decided to give these pressure cooker desserts a shot. Heard folks talking about how quick and easy they were, and honestly, sometimes you just want something sweet without firing up the big oven and waiting forever. I figured, why not document the process, see if it lives up to the hype.

Getting Started: The Idea
I didn’t want to go too crazy for the first try. Kept it simple. Remembered seeing something about little chocolate lava cakes, thought that sounded manageable. You know, minimal ingredients, supposedly fast cooking time. Seemed like a good test case.
Prep Work: Mixing and Pouring
So, I gathered the usual suspects: chocolate, butter, eggs, sugar, a bit of flour. Melted the chocolate and butter together first. Used the microwave, keeping it simple. Whisked the eggs and sugar in another bowl until they looked kinda fluffy. Then, gently folded the chocolate mixture into the egg mixture. Finally, sifted in the flour and a pinch of salt. Just mixed until combined – didn’t want to overdo it.
I greased up a couple of small ramekins really well. Butter and a dusting of cocoa powder, hoping they wouldn’t stick. Poured the batter into the ramekins, maybe filling them about two-thirds full. Didn’t want any overflow disasters in the cooker.
Into the Pressure Cooker
Okay, here’s the pressure cooker part. Poured about a cup of water into the main pot. Placed the metal trivet that came with the cooker inside. Carefully lowered the filled ramekins onto the trivet. They fit nicely side-by-side.
Locked the lid on. Made sure the valve was set to ‘Sealing’. Selected the ‘Manual’ or ‘Pressure Cook’ setting – high pressure. Now, the timing… I guessed based on a few things I’d skimmed online. Decided on 9 minutes. Seemed like a decent starting point for melty centers.

Cooking and Waiting
The cooker hissed and clicked as it came up to pressure. Then, silence, just the timer ticking down. The kitchen started smelling faintly of chocolate, which was a good sign, I guess. It’s weirdly satisfying, just letting the machine do its thing. No peeking, no stirring.
The Moment of Truth: Release and Reveal
Once the timer beeped, I let the pressure release naturally for about 5 minutes. Didn’t want to shock the cakes too much with a quick release right away. Then, I carefully turned the valve to ‘Venting’ to release the remaining steam. Always use an oven mitt for that part – learned that lesson before!
Opened the lid. The tops of the cakes looked cooked, maybe a little moist. Used my mitts again to carefully lift the trivet with the ramekins out. They were hot!
The Verdict: Tasting Time
Let them cool for just a minute or two. Ran a knife around the edge of one ramekin and tried to invert it onto a plate. Success! It slid out pretty easily. Did the same for the second one.
The result? They held their shape. Cut into one with a spoon… and yes! Gooey, melted chocolate flowed out from the center. It wasn’t quite as “lava-like” as some pictures, maybe needed a minute less cooking, but it was definitely molten.

- Taste: Rich, chocolatey, delicious. The texture was spot on – cooked cake on the outside, warm liquid center.
- Speed: From mixing to eating? Maybe 30 minutes total. That felt pretty quick.
- Ease: Super easy. Mix, pour, set the timer. Way less fuss than an oven.
Final Thoughts
So, yeah, color me impressed. It actually was quick and pretty darn easy. Cleanup wasn’t bad either, just the bowls, whisk, and the ramekins. The pressure cooker pot itself just needed a quick rinse since only water was in it.
Will I do it again? Absolutely. It’s perfect for a small batch dessert without much planning. Next time I might try 8 minutes for peak lava flow. Definitely a successful experiment worth repeating!
