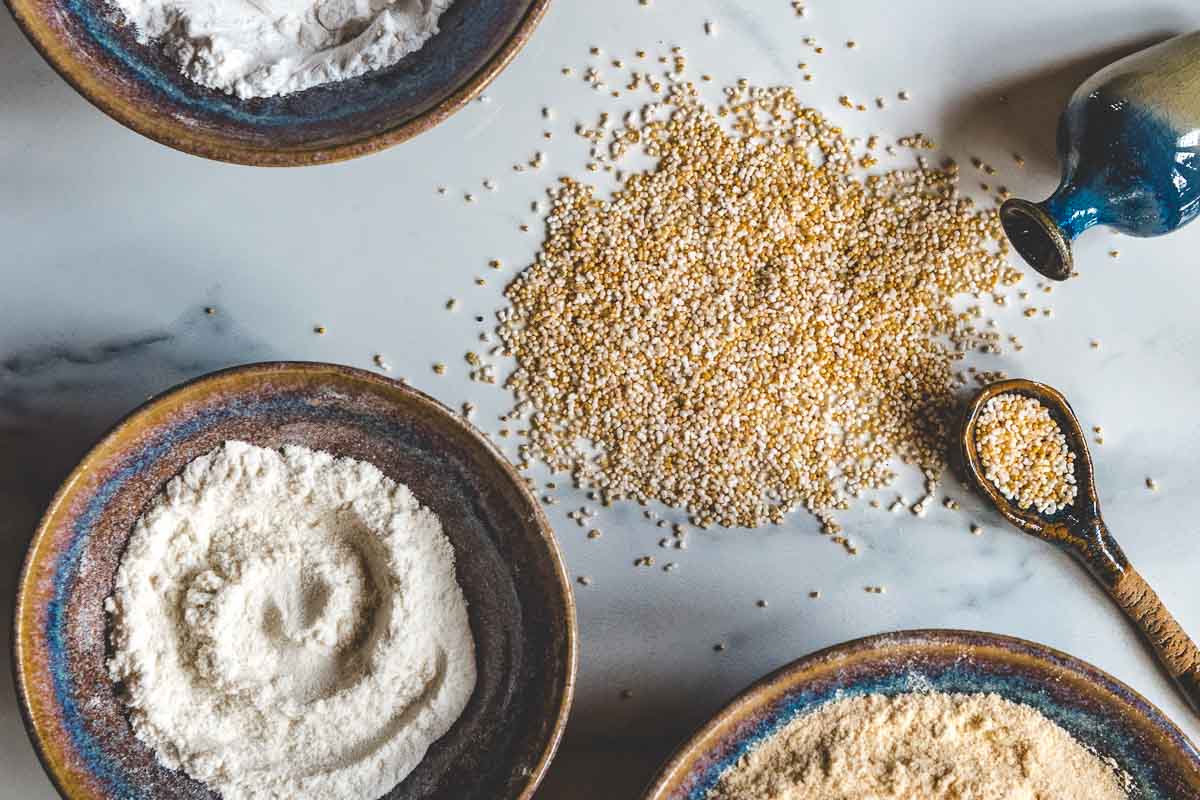
Well, howdy there! Let’s talk about makin’ that gluten-free atta right in your own kitchen, just like I do. No need for fancy store-bought stuff, not when you can do it yourself, good and proper.

First off, you gotta understand what this gluten-free stuff is all about. Some folks, their bellies just don’t agree with the regular flour, the kind that’s made from wheat. Makes ‘em feel poorly, you see. So, we gotta find other things to grind up into flour, things that won’t make them sick.
What can you use? Well, a whole heap of things, actually! I use things like brown rice, that’s the regular rice but brown, you know? Then there’s jowar, quinoa – fancy name, but it ain’t hard to find. Foxtail millet, amaranth, tapioca, and somethin’ called psyllium husk. That last one helps keep things together, like glue, but it’s good for ya, not like that wheat glue.
You might be wonderin’, which flours is gluten-free, right? Well, there’s a whole list! Almond flour, that’s made from nuts. Amaranth, arrowroot, banana flour – yes, they even make flour outta bananas now! Buckwheat, cassava, chestnut, coconut, corn flour – you probably know that one. Hazelnut, and all them other nuts and seeds too. Then there’s mesquite, millet, oat – gotta be careful with oats though, some ain’t gluten-free. Potato flour, quinoa, rice – brown, white, and even that sweet rice. Sorghum, tapioca, teff, and tiger nut. See? Lots to choose from!
- Brown Rice
- Jowar
- Quinoa
- Foxtail Millet
- Amaranth
- Tapioca
- Psyllium Husk
Now, how do you make this here atta? It ain’t rocket science, that’s for sure. You gotta get yourself some of them grains or nuts or whatever you’re usin’. Make sure they’re clean, you don’t want no dirt in your flour.
Then, you need a good grinder. I got an old one, been usin’ it for years. You can get a fancy electric one, or you can do it the old-fashioned way, with a stone grinder. Takes a bit more elbow grease, but it works just fine.

Grindin’ it up is the easy part. Just pour your grains or whatever into the grinder and let ‘er rip. You gotta grind it fine, real fine, like powder. You don’t want no big chunks in your atta.
Once it’s all ground up, you gotta store it right. Put it in a jar or a container with a tight lid. Keep it in a cool, dry place. You don’t want it gettin’ damp, or them little bugs will get into it.
Now, you’re probably thinkin’, “Why go to all this trouble when I can just buy it at the store?” Well, let me tell ya, the stuff you make at home is better. You know what’s in it, you know it’s fresh, and it just tastes better. Plus, it’s cheaper in the long run, specially if you’re feedin’ a whole bunch of folks.
So, there you have it. Makin’ gluten-free atta at home ain’t so hard after all. Just takes a little time and effort, but it’s worth it, believe you me. You get the hang of it, you’ll be makin’ it all the time. Your belly will thank ya, and your pocketbook too.
And remember, this ain’t just for folks with gluten problems. This here atta is good for everyone. It’s healthy, it’s tasty, and it fills ya up. What more could ya ask for?

One last thing, when you’re mixin’ up your dough, whether it’s for रोटी (roti), bread, or whatever, you gotta remember it might act a little different than regular flour. Sometimes it needs a little extra somethin’ to hold it together, that’s where that psyllium husk comes in handy. Or you might need a bit more water, or a bit less. You just gotta experiment a little, till you get it just right. Don’t be afraid to get your hands dirty, that’s the best way to learn!
And if you are not sure just start with a small amount, then if that works out good, you can make a bigger batch the next time. That’s how I always done it, start small and work your way up.
Tags: [gluten-free, atta, flour, homemade, recipe, brown rice, jowar, quinoa, healthy, baking, cooking]
